
CONtacTs and lists
Design Your Digital
Success
Crafted Websites and Graphics that Leave a Lasting Impression


Our Story
We are passionate web artisans, committed to creating visually stunning and functional websites that captivate audiences and elevate businesses to new heights.

1. How to Add a New Contact
Goal: Manually add one contact to your system.
Steps:
1. Log into Booster Hub.
2. From the left-hand menu, click “Contacts.”
3. Click the “+ Add Contact” button.
4. Fill in key fields like:
- Full Name
- Email Address
- Phone Number
Tags (optional, like: “Lead,” “Customer,” “VIP”)
5. Click “Save.”
📌 Tip: Add a tag right away to keep contacts organized from the start.
2. How to Import a List of Contacts
Goal: Upload a CSV list of contacts in bulk.
Steps:
1. Prepare a CSV file with column headers like:
- First Name, Last Name, Email, Phone, Tags
2. Go to “Contacts.”
3. Click the “Import Contacts” button in the top right.
4. Upload your CSV file.
5. Match each column in your file to the corresponding field (e.g., Email → Email).
6. Choose to tag all contacts (optional).
7. Click “Import.”
📌 Tip: Double-check your formatting — no blank rows or merged cells!

3. How to Create a Smart List
Goal: Automatically group contacts based on filters like tags or actions.
Steps:
1. Go to “Contacts.”
2. Click the “More Filters” button at the top.
3. Add your filters accordingly
Set filters such as:
- Tag = “Lead”
- Added Date = “This Week”
and Click “+ Save as Smart List.”
4. Name your list (e.g., “New Leads This Week”) and save.
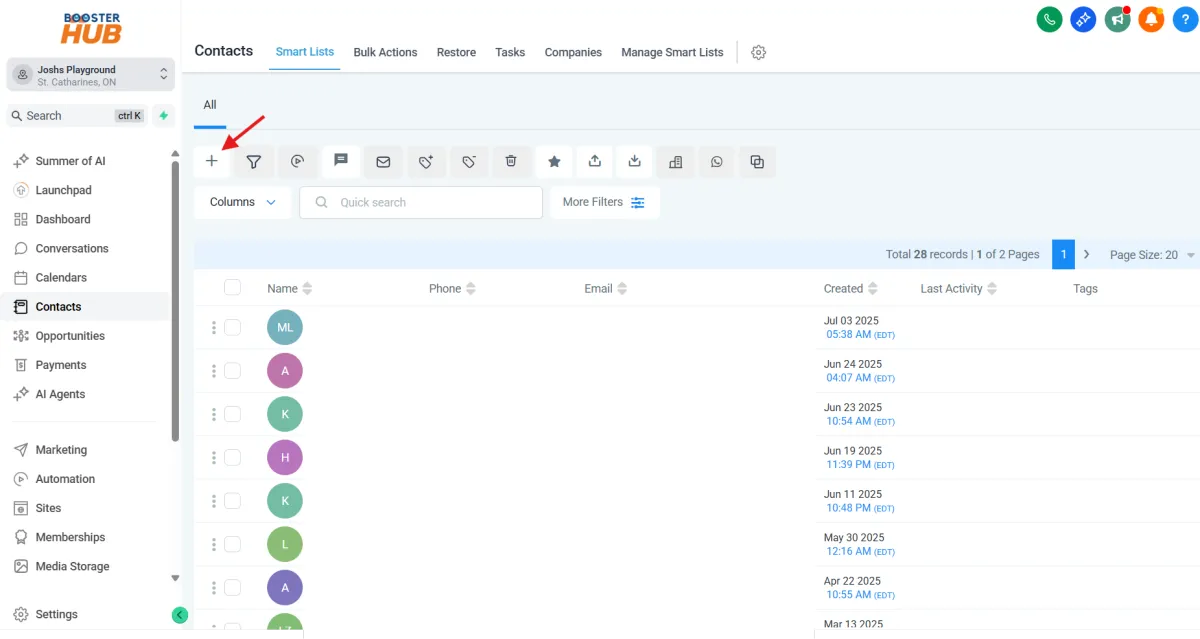
4. How to Edit or Delete a Contact
Goal: Update or remove contact information.
Steps:
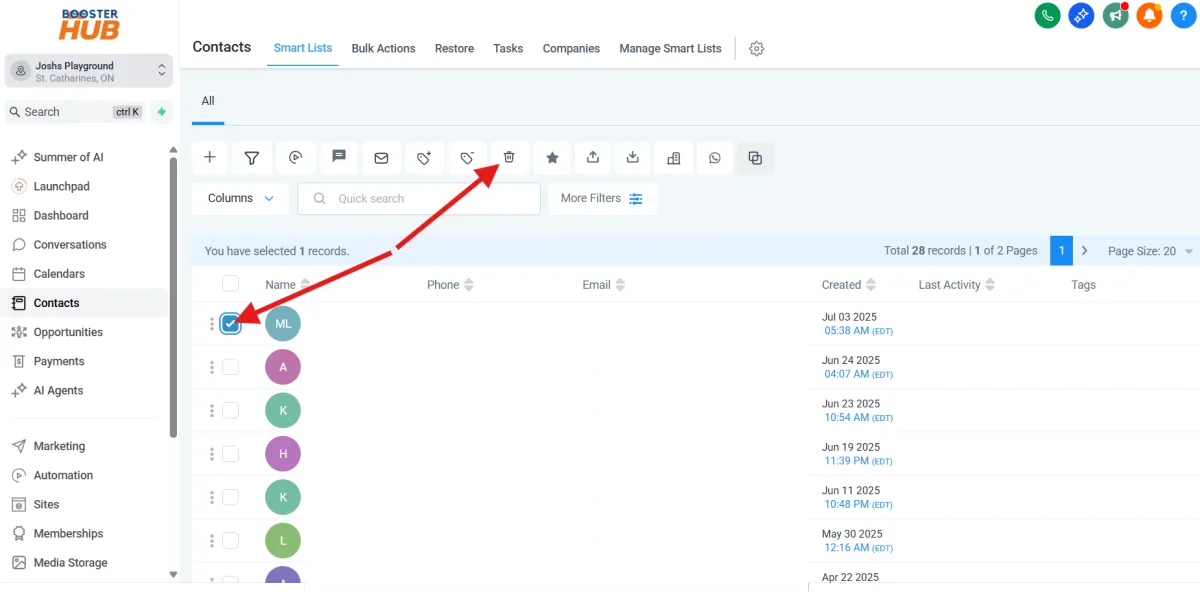
1. To delete go to Contacts
select the contacts by clicking the checkboxes and click delete contact icon
2. To edit the contacts
click the name and update the fields on the left panel
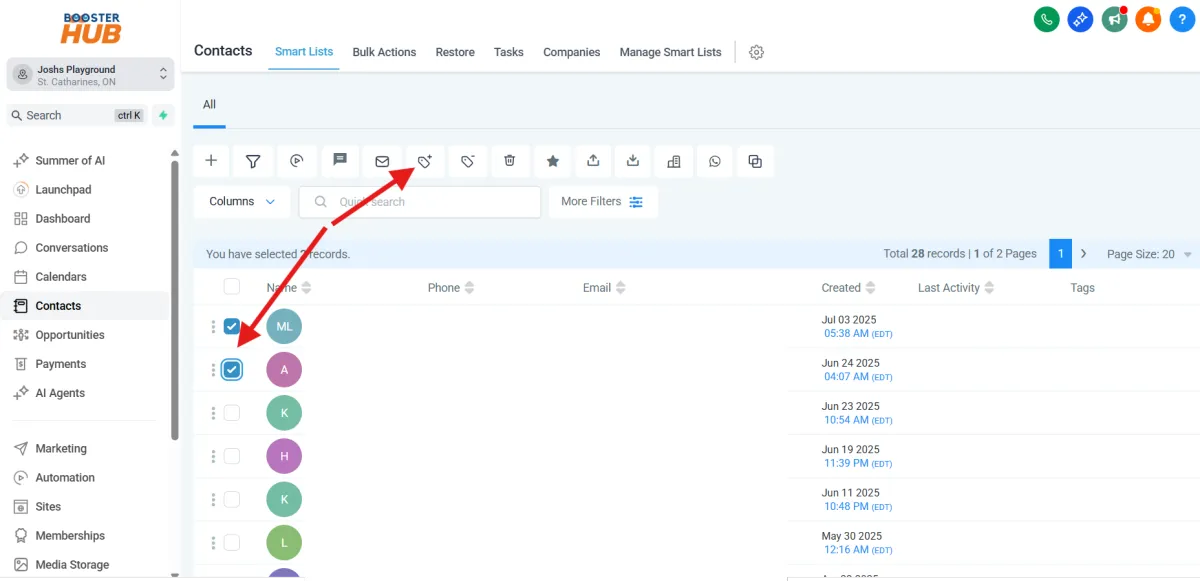
5. How to Tag Contacts for Segmentation
Goal: Organize contacts by assigning them tags.
Steps:
1. Go to “Contacts.”
2. Select one or multiple contacts using the checkboxes.
3. Click “Actions” → “Add Tags.”
4. Type your tag (e.g., “Client,” “Follow-Up Needed”) and click Apply.
📌 Tip: Tags help you create targeted email and text campaigns later.
6. Extracting contact
into csv
Steps:
Go to contacts on the left main menu
Select all contacts
Click the icon Export Contacts